


Sabtu, 21 September 2013
Senin, 02 September 2013
Step
1
First make a new PSD document
1000 x 400 pixels resolution 72 Dpi. Now open the free texture Wooden Table and
copy and paste it into your new PSD document. Command/Ctrl + T (transform) the
texture and resize it until you are happy with it.

Step
2
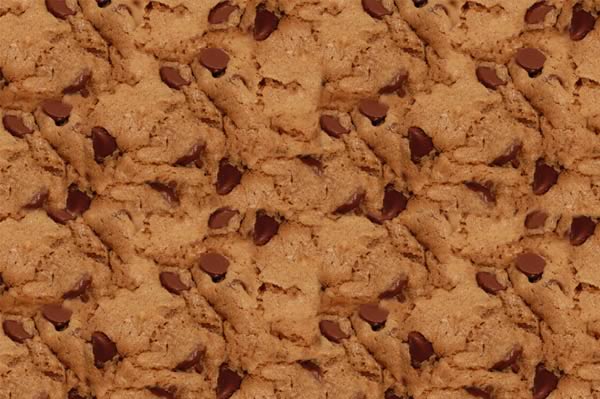
Then we are going to make the
texture for the Cookie style. Open the Chocolate Cookie Texture in Photoshop.
Go to Image > Image Size… and fill in the setting like below. Now go to Edit
> Define Pattern… name it Cookie Texture and press ok. Exit this document
and go back to your document from step 1.
Step
3
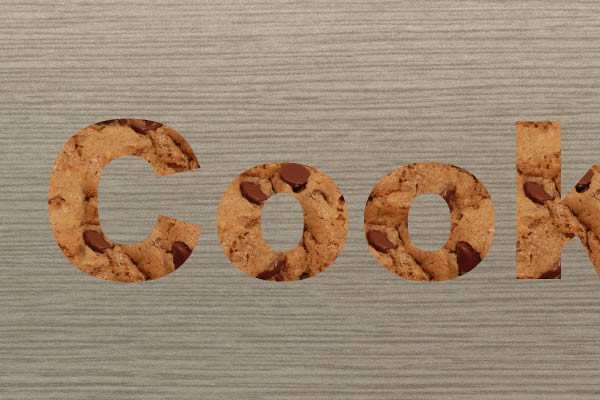
Now make your text with a font
of your own choice and write your text. I wrote Cookie with Arial Black 220 pt.

Step
4
Now we are going to apply some
layer styles! Use the settings as shown below. We start with the texture for
the cookie – Double Click on the text layer to open Layer Styles – Select
Pattern Overlay – Click on the Pattern Box and choose the cookie Texture we
made in step 2.


Now select Bevel and Emboss for
the cookie style for a 3D look.


Next select Drop Shadow to make
it more real on the background

Now select Outer Glow to give it dark edges
Next select Texture under the
Bevel and Emboss to make the cookie more real and give it a grungy look.
Step
5
Now we are going to draw around
the text to make it look more like a cookie. Select the text layer, Right click
on the layer and choose Rasterize Layer, Choose the Brush Tool with size of 13
and a Hardness of 100%, Now draw around the text with the Brush tool until
you’re happy with it (like below).
Step
6
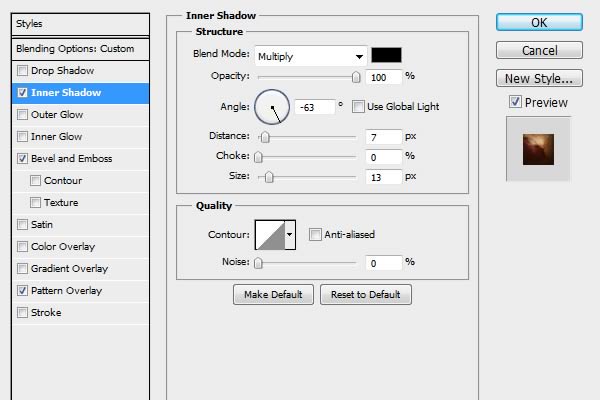
Now we are going to make some
extra chocolate. Make a New Layer by going to > Layer > New > Layer.
Double click on the layer and use the Layer Styles as shown below.
Step
7
Now draw some chocolate on the
cookie with the brush tool – hardness 100%
Final
Image

Senin, 19 Agustus 2013
TARAAA!!

Tutorial:
1 Buka photosop.
2 Masukkan foto.
3 Seleksi menggunakan Magic Wand Tool.
4 Seret foto di tempat yang anda inginkan.
5 Klik foto pada layers.
6 Pilih Stroke, ganti warna putih (#ffffff) ubah ukuran menjadi 2.
7 klik T, dan tuliskan TARAAAAAAA!!!
Photoshop
EXPLANATION
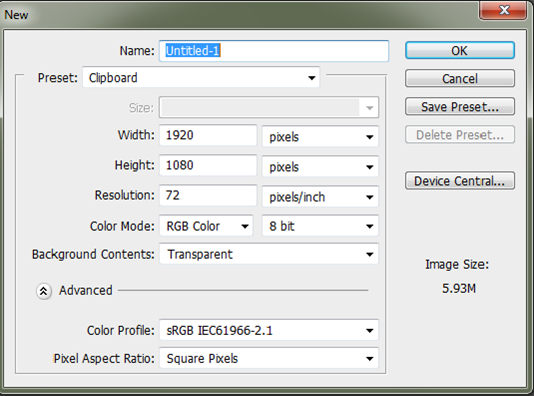
v Name:
Write the name of the image file.
v Present
: To specify the size of image you may either use
preset or width height option.
preset or width height option.
v Width
: set for
width worksheets.
v Height
: set for height worksheets.
v Resolution:
refers the number of pixels per inch.
Pixel is a single point in a graphic image and a pixel can
have only one colors.
Pixel is a single point in a graphic image and a pixel can
have only one colors.
v Color
mode : set type color.
RGB (Red, Green, Blue) use for desktop.
CMYK ( Cyan, Magenta, Yellow, key(black)) use print images.
RGB (Red, Green, Blue) use for desktop.
CMYK ( Cyan, Magenta, Yellow, key(black)) use print images.
v Background
Contents : set color Background.
FILE FORMATS
v PSD
is the default file format of Photoshop..
v GIF
Due to it’s low file size, gif is a common web file format and suitable for
animation.
v JPG/JPEG
The most used photo and web images format. GIF can include 256 colors, JPG more
than 16,7 million colors.
v PDF
Adobe’s Portable Document format.
v TIFF
accepted file formats for publishing.

Format
|
Size
|
MS Paint
|
JPG
|
792 KB
|
YES
|
PSD
|
4,54 MB
|
NO
|
BMP
|
2,25 MB
|
YES
|
EPS
|
3,89 MB
|
NO
|
GIF
|
578 KB
|
YES
|
PDF
|
4,62 MB
|
YES
|
TIFF
|
2,28 MB
|
YES
|
Kesimpulan:
PDF mempunyai ukuran terbesar yaitu 4,62 MB. Dan GIF mempunyai ukuran terkecil yaitu 578 KB.
Sabtu, 27 Juli 2013
Langganan:
Postingan (Atom)